How to Customize Reports in Zoho Books
Note: This feature is available only for certain plans of Zoho Books. Visit the pricing page to check if it’s available in your current plan. Furthermore, the Custom Reports feature is available only in Profit and Loss, Balance Sheet, Cash Flow Statement, and Invoice Details reports.
You will be redirected to the General section.
1. General
In the General section, you can customize your report based on the following filters:
|
Filter
|
Description
|
|---|---|
|
Date Range |
Generate the report for a specific week, month, quarter, or year or set a custom duration of your own. |
|
Report Basis |
Select the method of accounting to be displayed in your report: Accrual: Amount generated when the transactions are created. Cash: Amount generated when the organization actually receives the cash. |
|
Filter Accounts |
Filter accounts that you’d like to include. This can be: |
|
Compare With |
Compare the report with previous periods, months, quarters, or years. To compare your report with the previous years or previous periods, select your preferred date range. To compare your report with the previous months, select month-wise ranges like Jan 1 to Jan 31 as your custom date range. To compare your report with the previous quarters, select quarter-wise ranges based on your organization’s fiscal year. For example, if your fiscal year is January to December, select date ranges like Jan 1 - Mar 31, Apr 1 - Jun 30, etc., as your custom date range. |
|
Advanced Filters |
Filter your report based on projects, reporting tags, and branches. |
Note: If you have specified a custom date range in your custom report and you schedule it, the scheduled report will be generated using the data available between the custom date range. For example, let’s say you schedule a custom report to be generated on a weekly basis and the custom date range is between 7 July 2021 to 7 August 2021. After 7 August 2021, every weekly report generated will use the date from 7 July 2021 to 7 August 2021.
- After configuring the above filters, click Next to go to the Show/Hide Columns section.
2. Show/Hide Columns
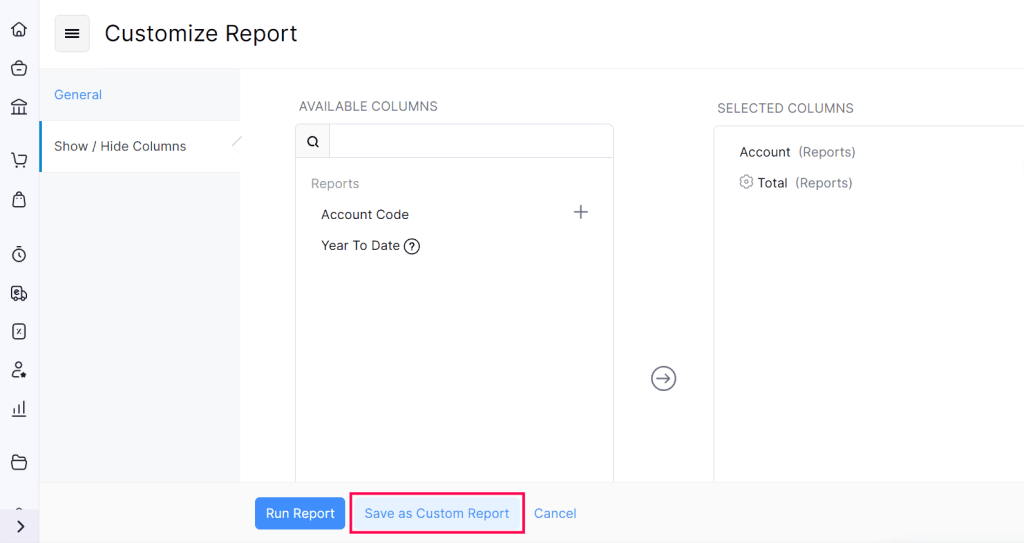
In this section, you can customize the columns of your report. Here’s how:
- Go to the Show/Hide Columns section.
- In the Available Columns section, hover your cursor over the column you want to add and click the + icon next to it.
- In the Selected Columns section, you can view the existing columns of your report.
- Once you customize the columns, click Run Report to view the customizations in the report.
- To further customize the report and save them as a new custom report, click Save as Custom Report.


